


Sunday, June 10, 2012
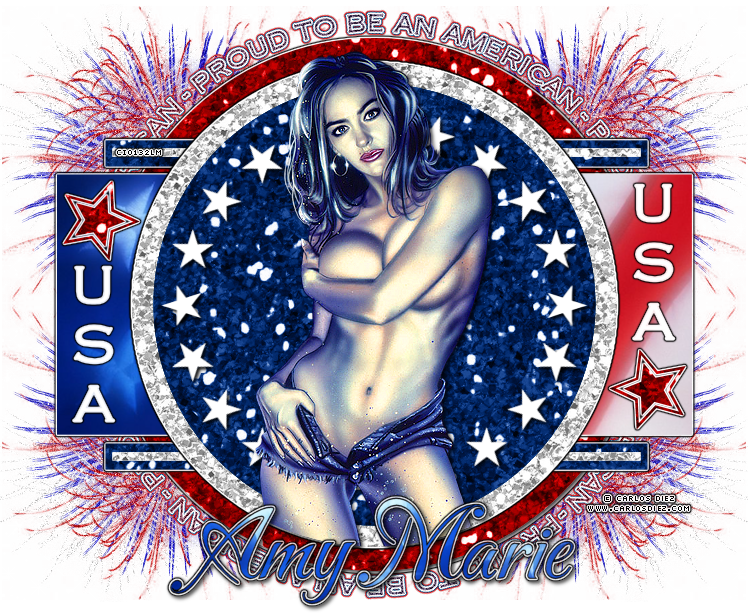
PTU - Proud to be an American
This tutorial was made using PSPX2, but can be adapted
To do this tutorial you must have working knowledge of Paint Shop Pro
This tutorial was written by DesignsbyRená on June 9, 2012
Any resemblance is purely coincidental. Enjoy!
I am using the wonderful work of Carlos Diez, which can now be purchased here!
Items you need:
Exclusive Scrapkit “American Emo” by AmyMarie, which you can purchase here!
Thank You Amy Marie!
Template by Rosey 73 which can be found here!
Plugins Needed
Eye Candy 4000
Font is CarattereROB
Color Palette is #000000 foreground & paper pp012 as background
Image>canvas size> 800x800 (we can crop layer)
Delete the credits layer & white background layer
Now on to the tut!!!
First create a layer below the Circle Wordart layer
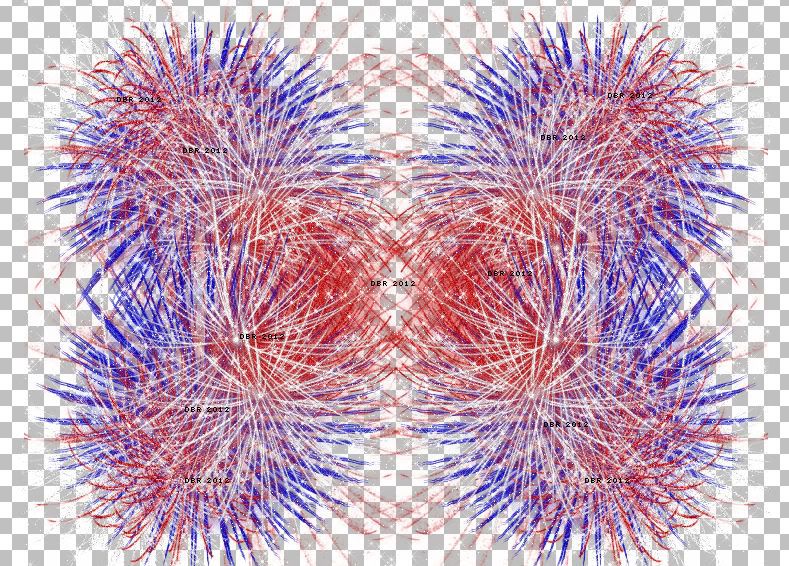
Open element am-fireworks
Copy & paste as a new layer
Move to the upper left of your template
Image>duplicate>mirror
Image>duplicate>flip
Image>duplicate>mirror
This should end up looking like this (without the watermarks):
Now select the RedCircle layer
Float/defloat
Open paper pp015
Paste as a new layer
Invert selection>delete the excess
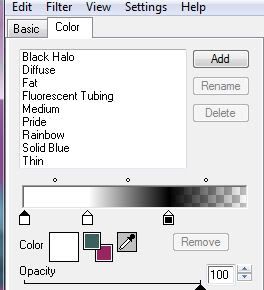
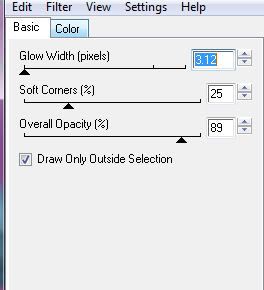
Add the following gradient glow
Now select the BlackLine layer
Float/defloat
Open paper pp014
Copy & paste as a new layer
Invert>delete the excess
Deselect
Add the gradient glow from above
Now select the White Line layer
Floate/defloat
Open paper pp013
Copy & paste as a new layer
Add the same gradient glow from above
Deselect
Now select the Blue Rectangle layer
Float/defloat
Open paper pp012
Copy & paste as a new layer
Invert>delete the excess
Deselect
Add the same gradient glow as before
Select the Top Left Red Star layer
Float/defloat
Open paper pp015
Copy & paste as a new layer
Invert>delete the excess
Add gradient glow
Do the same few steps for the Bottom Left Red Star layer
Now select the White Circle layer
Float/defloat
Open paper pp013
Copy & paste as a new layer
Invert>delete the excess
Now select the Blue Circle layer
Float/defloat
Open paper pp014
Copy & paste as a new layer
Deselect
Add the same gradient glow as before
Select the White Star Circle layer
Add a light drop shadow
Now select the USA Wordart
Use the gradient glow from before/or a light drop shadow
Add your tube!
Add your name
For my font, I used CarattereROB
Then Crop your tag!
DON’T FORGET TO ADD PROPER © INFORMATION!!!!!
Anywayz, I hope you have enjoyed this tutorial.
If you have any questions, suggestions, or want to show off your results, please email me at
Subscribe to:
Post Comments (Atom)
About Me

- Designs by Rená
- SAHM to two wonderful children. Married for 14 years to my best friend. I have been using PSP for 15+ years now,and love all aspects of it. If you need to get ahold of me,please email me at designsbyrena01@windstream.net


0 comments:
Post a Comment